Understanding how a seat belt buckle functions and how to disassemble it properly is a critical skill for many car owners and enthusiasts. Whether it's for cleaning, repair, or replacement, doing it safely can save you time and potentially a costly trip to the mechanic. Before embarking on your DIY journey, review your vehicle's manual for any specific instructions related to your model, and always prioritize safety by ensuring the car is parked and that you’re working in a well-lit, stable environment.
Necessary Tools for the Job
Before starting the disassembly process, gather all the tools you’ll need to ensure a smooth operation. Common tools required include:
-
Flathead screwdriver
-
Torx screwdriver or set
-
Needle-nose pliers
-
Trim removal tool (optional but useful)
Ensure you have a clean workspace with a small container or magnetic tray to hold any small screws or components that may be easy to lose.
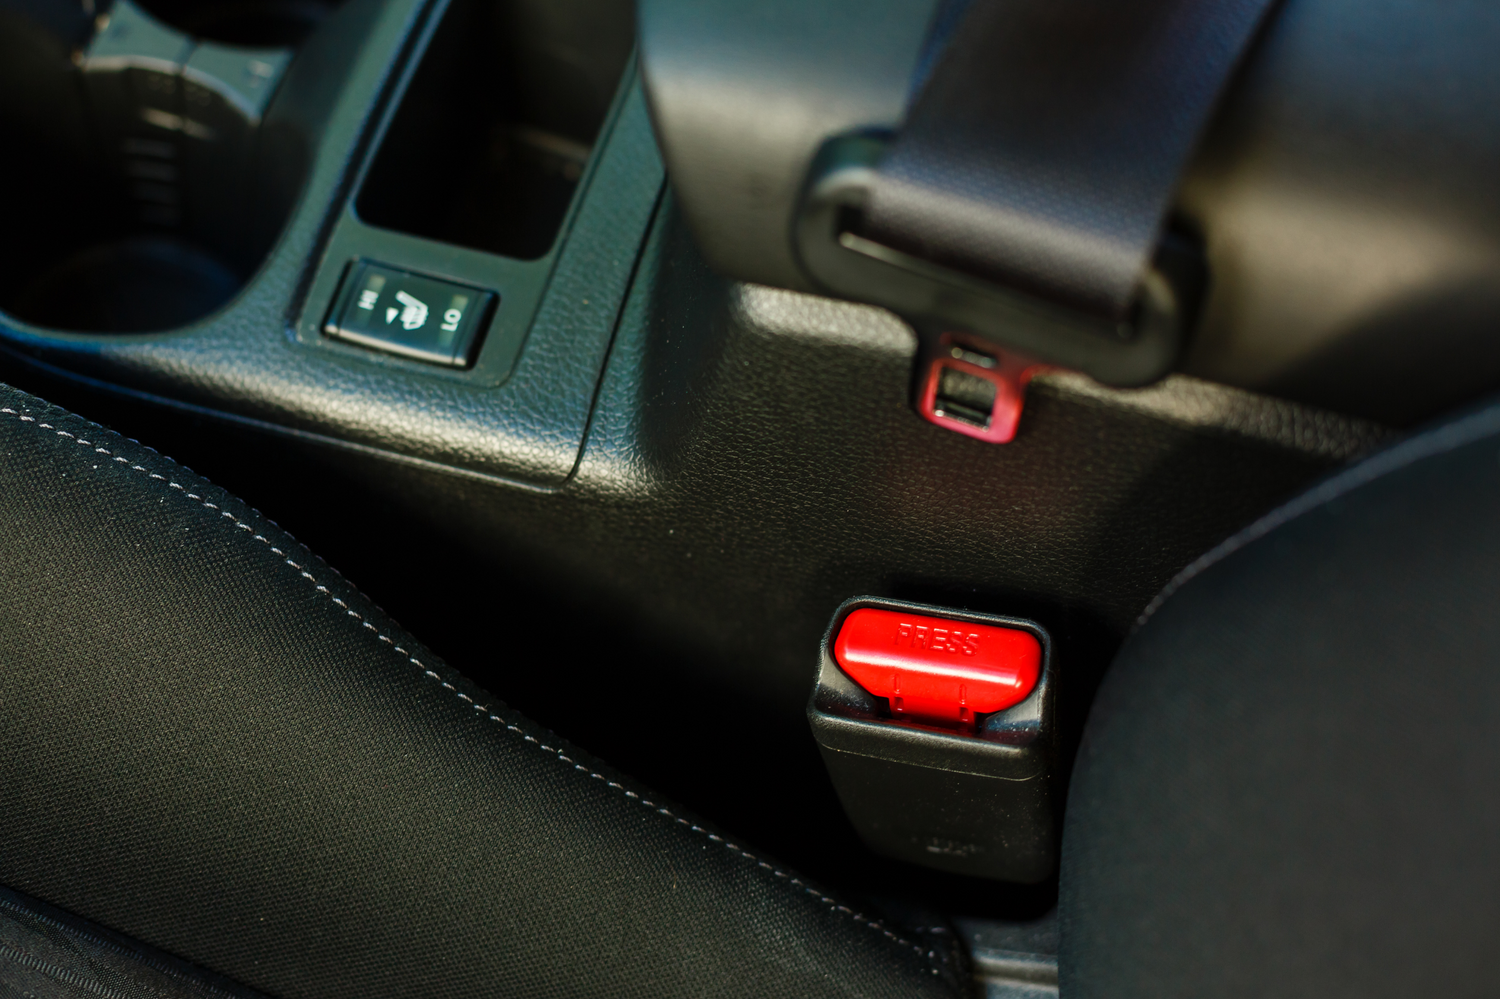
Accessing the Seat Belt Buckle
For most vehicles, seat belt buckles are attached to the seat or located between the seats. The first step is to locate the plastic cover that conceals the buckle’s base. You may need a trim removal tool or a flathead screwdriver to carefully pry off this cover. Be gentle to avoid breaking any of the plastic clips or tabs.
Unscrewing and Opening the Buckle
Once you have access to the seat belt buckle mechanism, you'll typically find one or more screws or bolts holding it in place. A Torx screwdriver is often required here, but some buckles may use standard screws. Again, proceed with caution and keep all screws in a safe place since you will need them for reassembly.
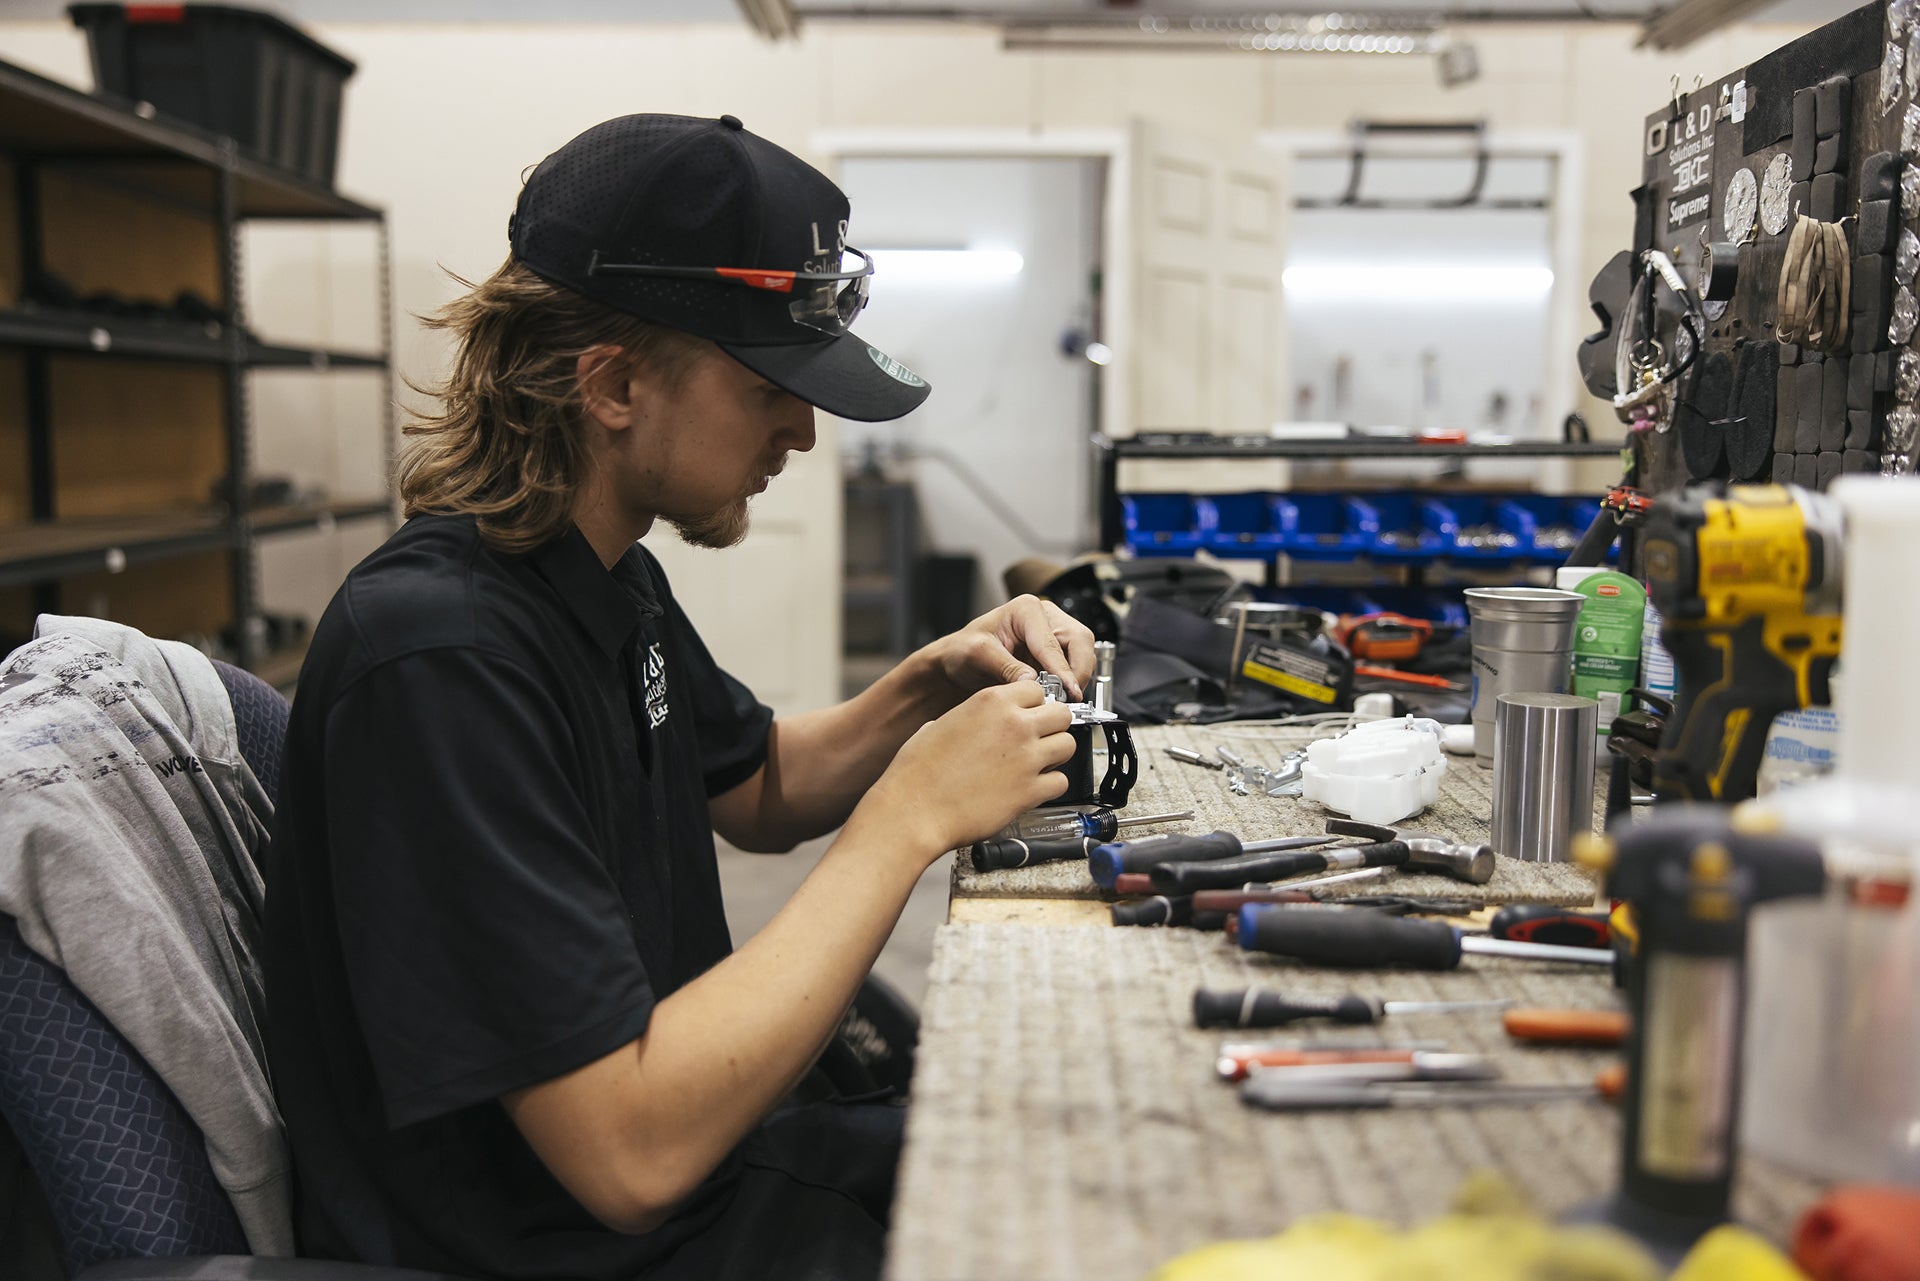
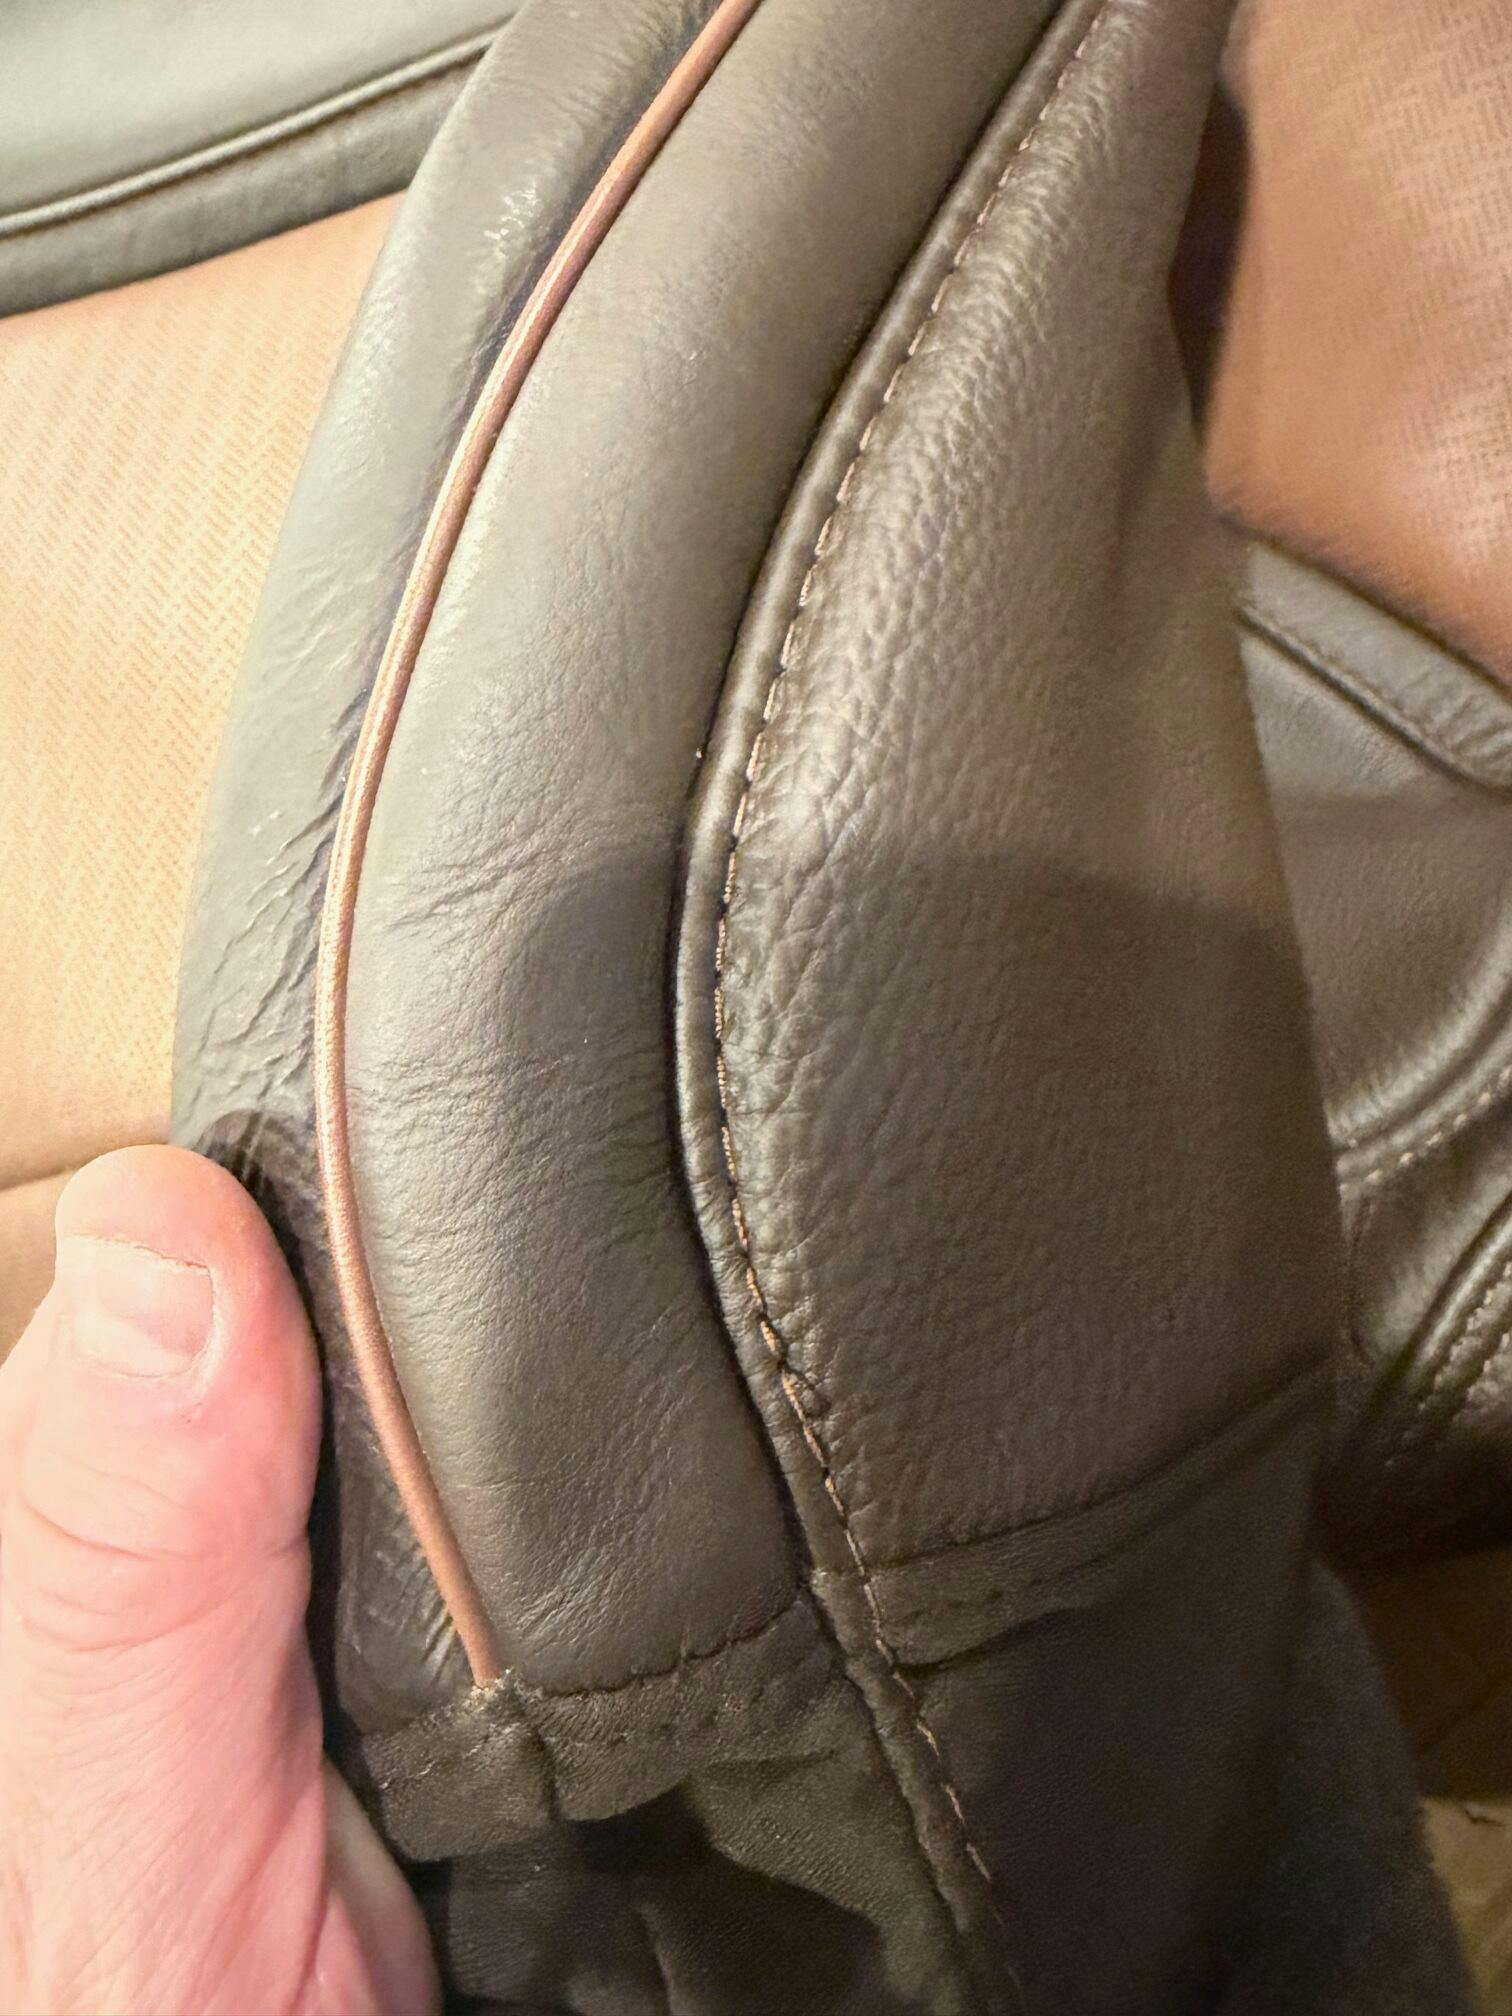
Carefully Separating the Buckle Components
With the screws removed, you can now gently separate the buckle components. Take your time and pay attention to how each piece fits together. There may be additional clips or fasteners that require releasing. Use the needle-nose pliers and the flathead screwdriver to assist if needed.
If you are disassembling the buckle for cleaning, now is a good time to use a small brush or cloth to clean the internal components. If you're troubleshooting a malfunction, inspect the internal parts for signs of wear, damage, or foreign objects that may be causing issues.
Reassembling the Seat Belt Buckle
After servicing the seat belt buckle, reassembling it is a matter of reversing the disassembly steps. Carefully align and snap the components back into place, ensuring that they fit together as they did before. Once everything is aligned, screw the bolts back in, being careful not to overtighten as this could strip the threads or damage the plastic.
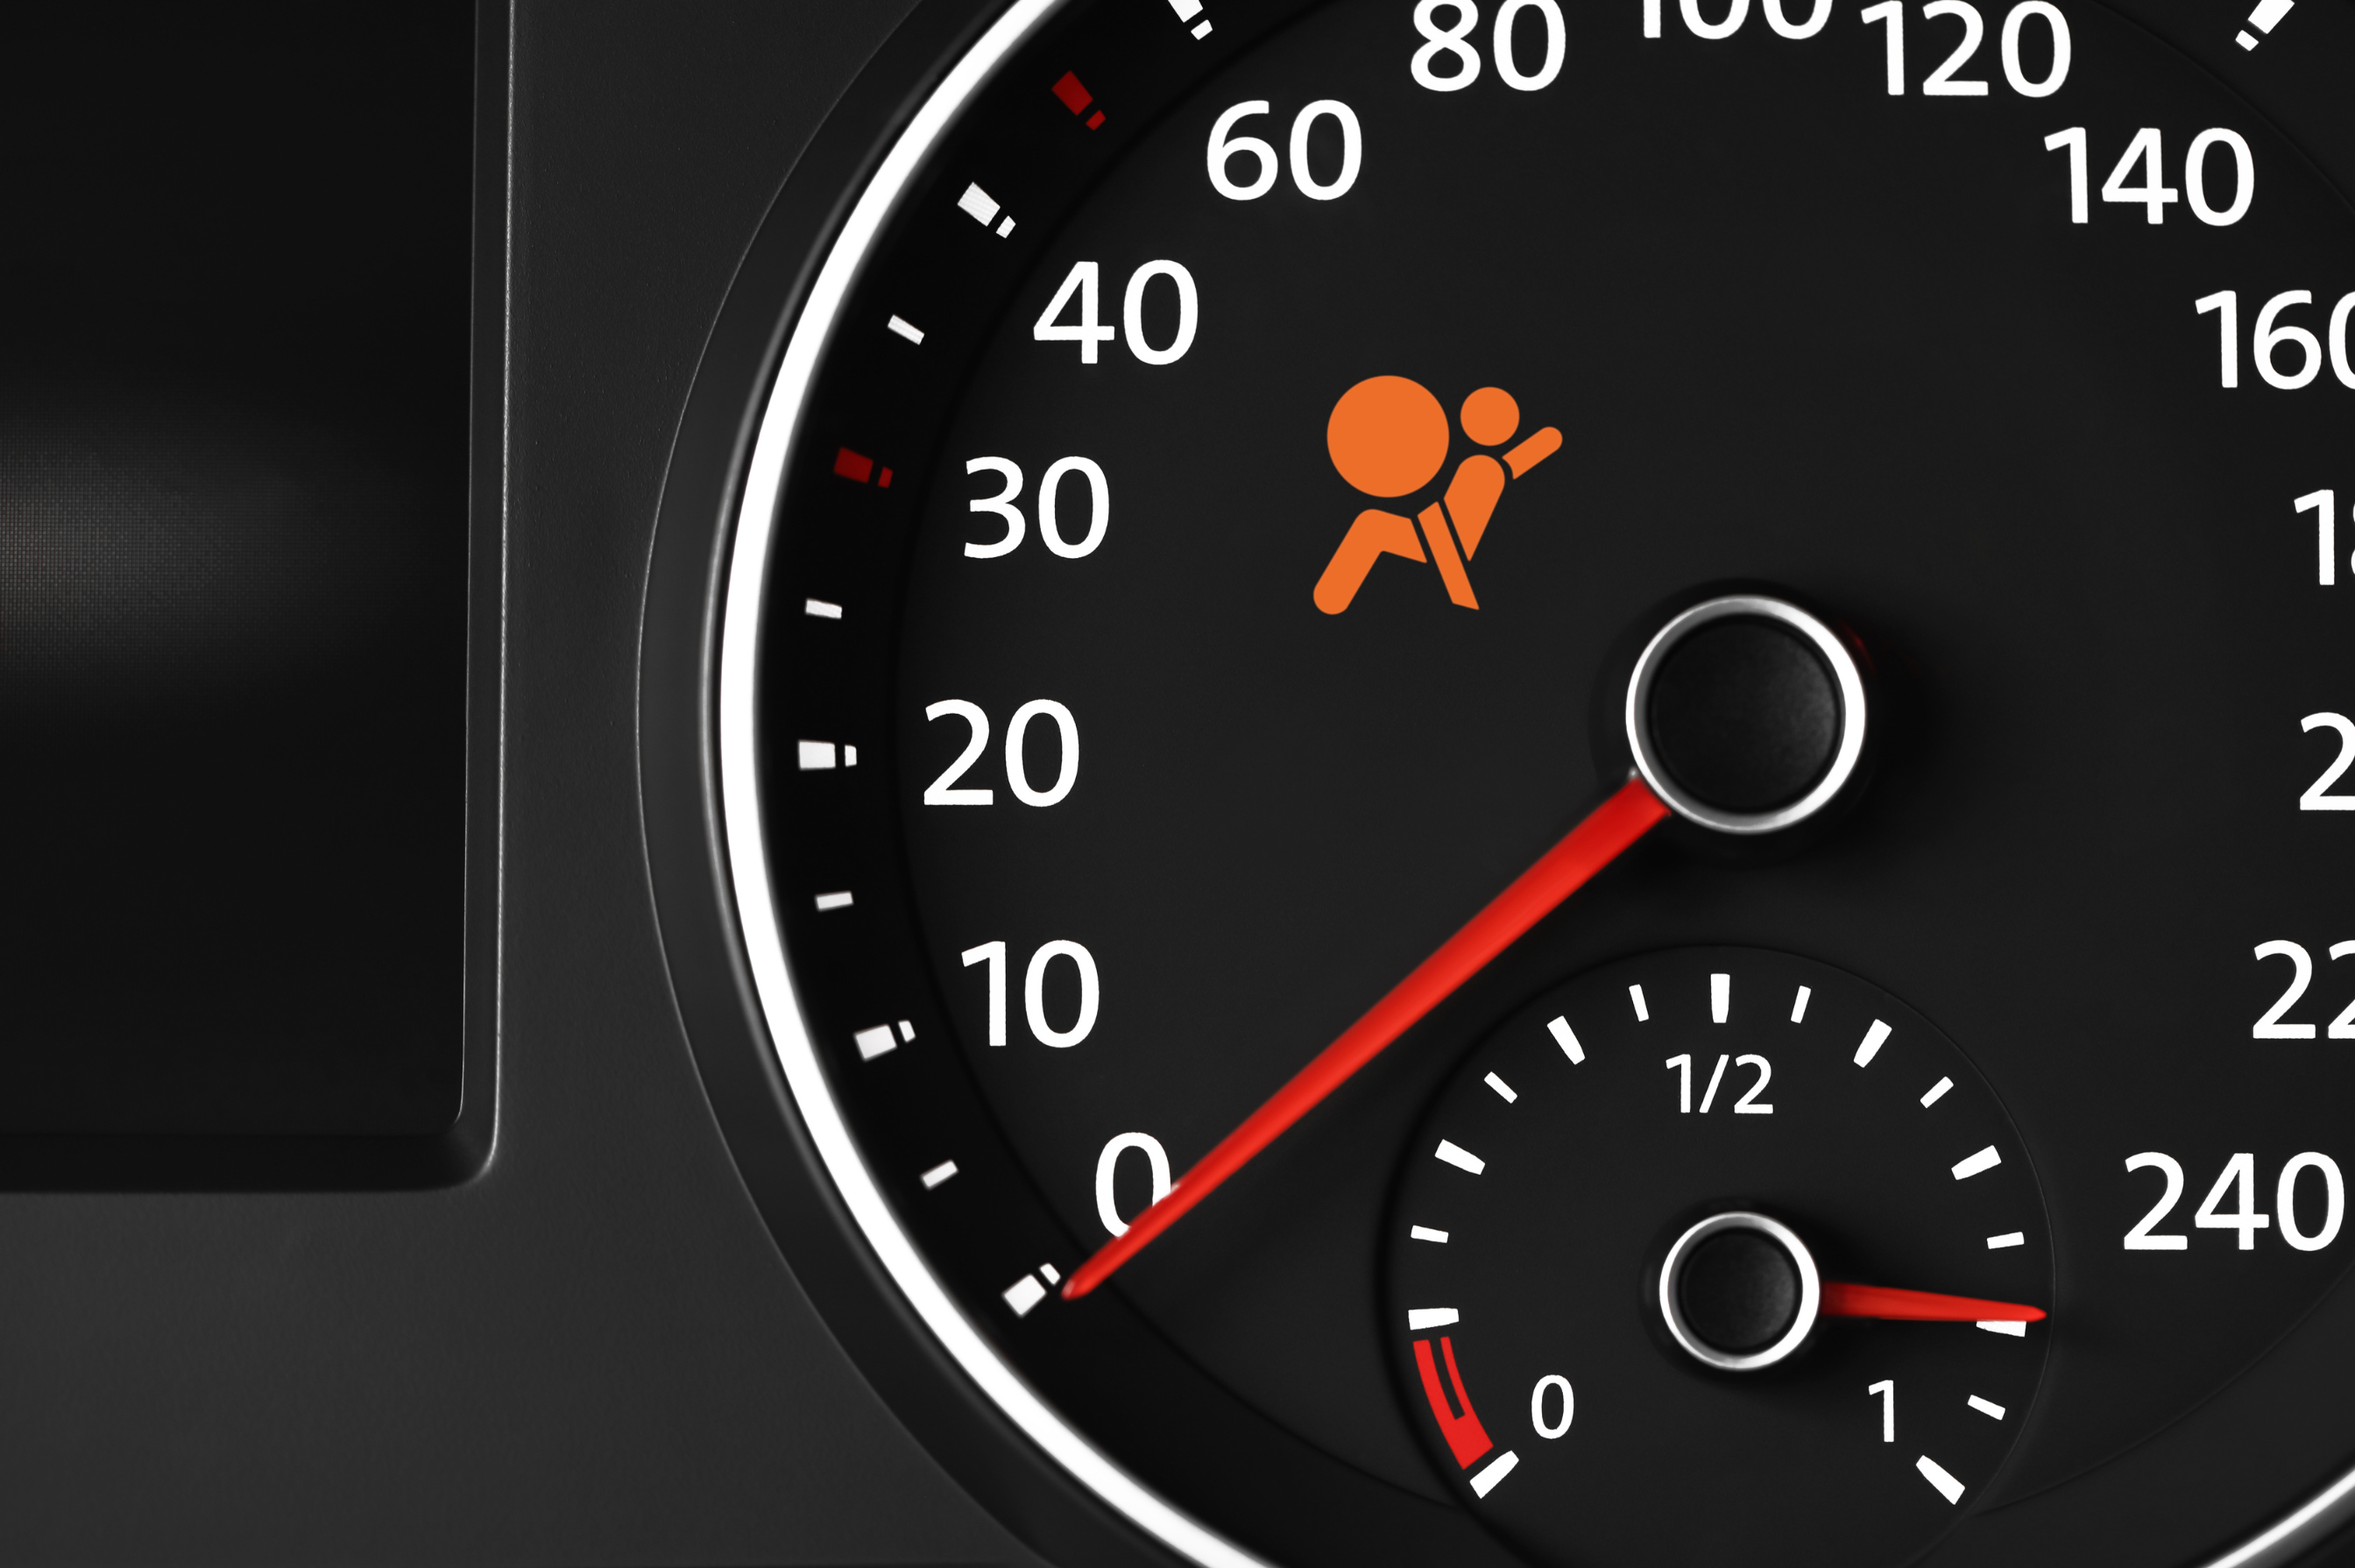
Safety Checks and Precautions
Once you've reassembled your seat belt buckle, it's imperative to perform safety checks. Fasten and unfasten the buckle several times to ensure it clicks into place securely and releases without issues. Listen for any unusual noises or resistance which could indicate that the buckle isn't properly assembled.
Disassembling a seat belt buckle requires patience, precision, and the right tools. By following this DIY guide, you can safely and efficiently work on your car’s seat belt buckles. Always remember that seat belts are critical safety components, and if you're ever uncertain during the process or the buckle isn't functioning perfectly after reassembly, seek professional assistance immediately. Your safety on the road is paramount.

Leave a comment
This site is protected by hCaptcha and the hCaptcha Privacy Policy and Terms of Service apply.