When you walk away from a collision, it’s easy to focus on the visible damage, crumpled panels, cracked headlights, maybe a bent frame. But here’s the thing: one of the most important safety components in your car is often hidden from view. Your seat belts.
If your seat belts have been stressed or locked during an accident, they may not protect you in the same way next time. And unlike a dented bumper, you can’t just “live with it” and hope for the best.
Let’s break down exactly what you need to check after a collision, why seat belt replacement is so important, and how to get it done right.
Why Seat Belts Must Be Replaced After a Collision
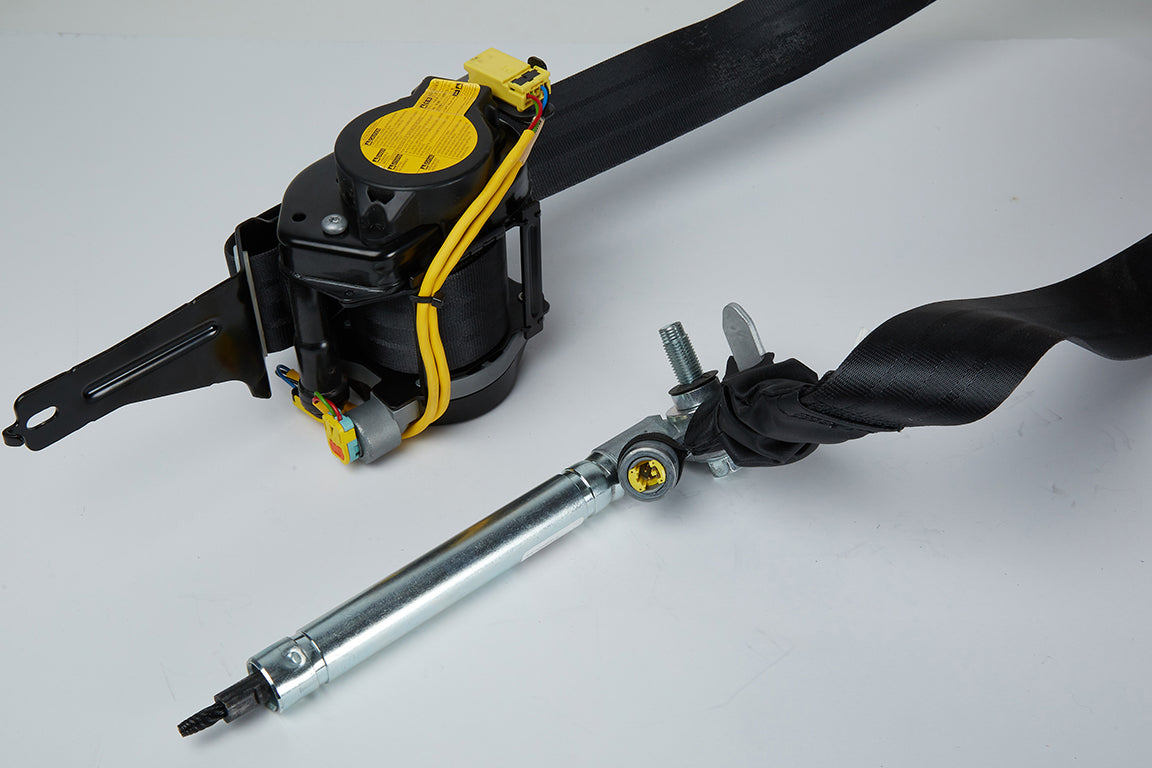
Seat belts are engineered to save lives in fractions of a second. During a crash, the retractor locks, the webbing tightens, and a hidden pre-tensioner deploys, pulling you firmly into the seat. This is by design.
The problem? Once these components are activated, they’re no longer at full strength. The internal mechanism might be worn, stretched, or damaged in ways you can’t see.
Think about it like a parachute. Would you reuse one after it’s been deployed in an emergency? Of course not. The same goes for seat belts.
Common post-collision seat belt issues include:
- Locked Retractors – The belt won’t pull out or retract smoothly.
- Frayed or Stretched Webbing – Weakened fibers reduce strength.
- Activated Pre-Tensioners – Once fired, they must be replaced.
- Damaged Buckles or Latches – Even small cracks can cause failure.
Here’s the bottom line: if your car’s airbags deployed, there’s a good chance your seat belts need service too.

Step 1: Inspect the Webbing
Before you even think about driving the car again, check the seat belt webbing, the fabric strap itself.
Run your fingers along the entire length. Look for:
- Cuts, frays, or loose threads
- Burn marks from rapid retraction
- Stretching or “waviness” in the weave
Even minor damage can reduce tensile strength by up to 60%. That means the belt might snap under crash forces. If you see any damage, replacement is the safest route.
Step 2: Test the Retractor Mechanism
Next, pull the belt out slowly, then let it retract. Does it glide back smoothly, or does it hesitate? Now, give it a quick tug. If the retractor doesn’t lock instantly, that’s a red flag.
After a collision, many retractors stay permanently locked or partially jammed. It’s not just inconvenient, it’s dangerous.
Step 3: Check the Buckle and Latch Plate
A seat belt buckle might look fine but have internal cracks or deformation. Press the release button, does it stick? Does it latch securely every time?
If the buckle was under load during the crash, replace it. These parts are precision-engineered, and even slight warping can cause failure.
Step 4: Identify Activated Pre-Tensioners
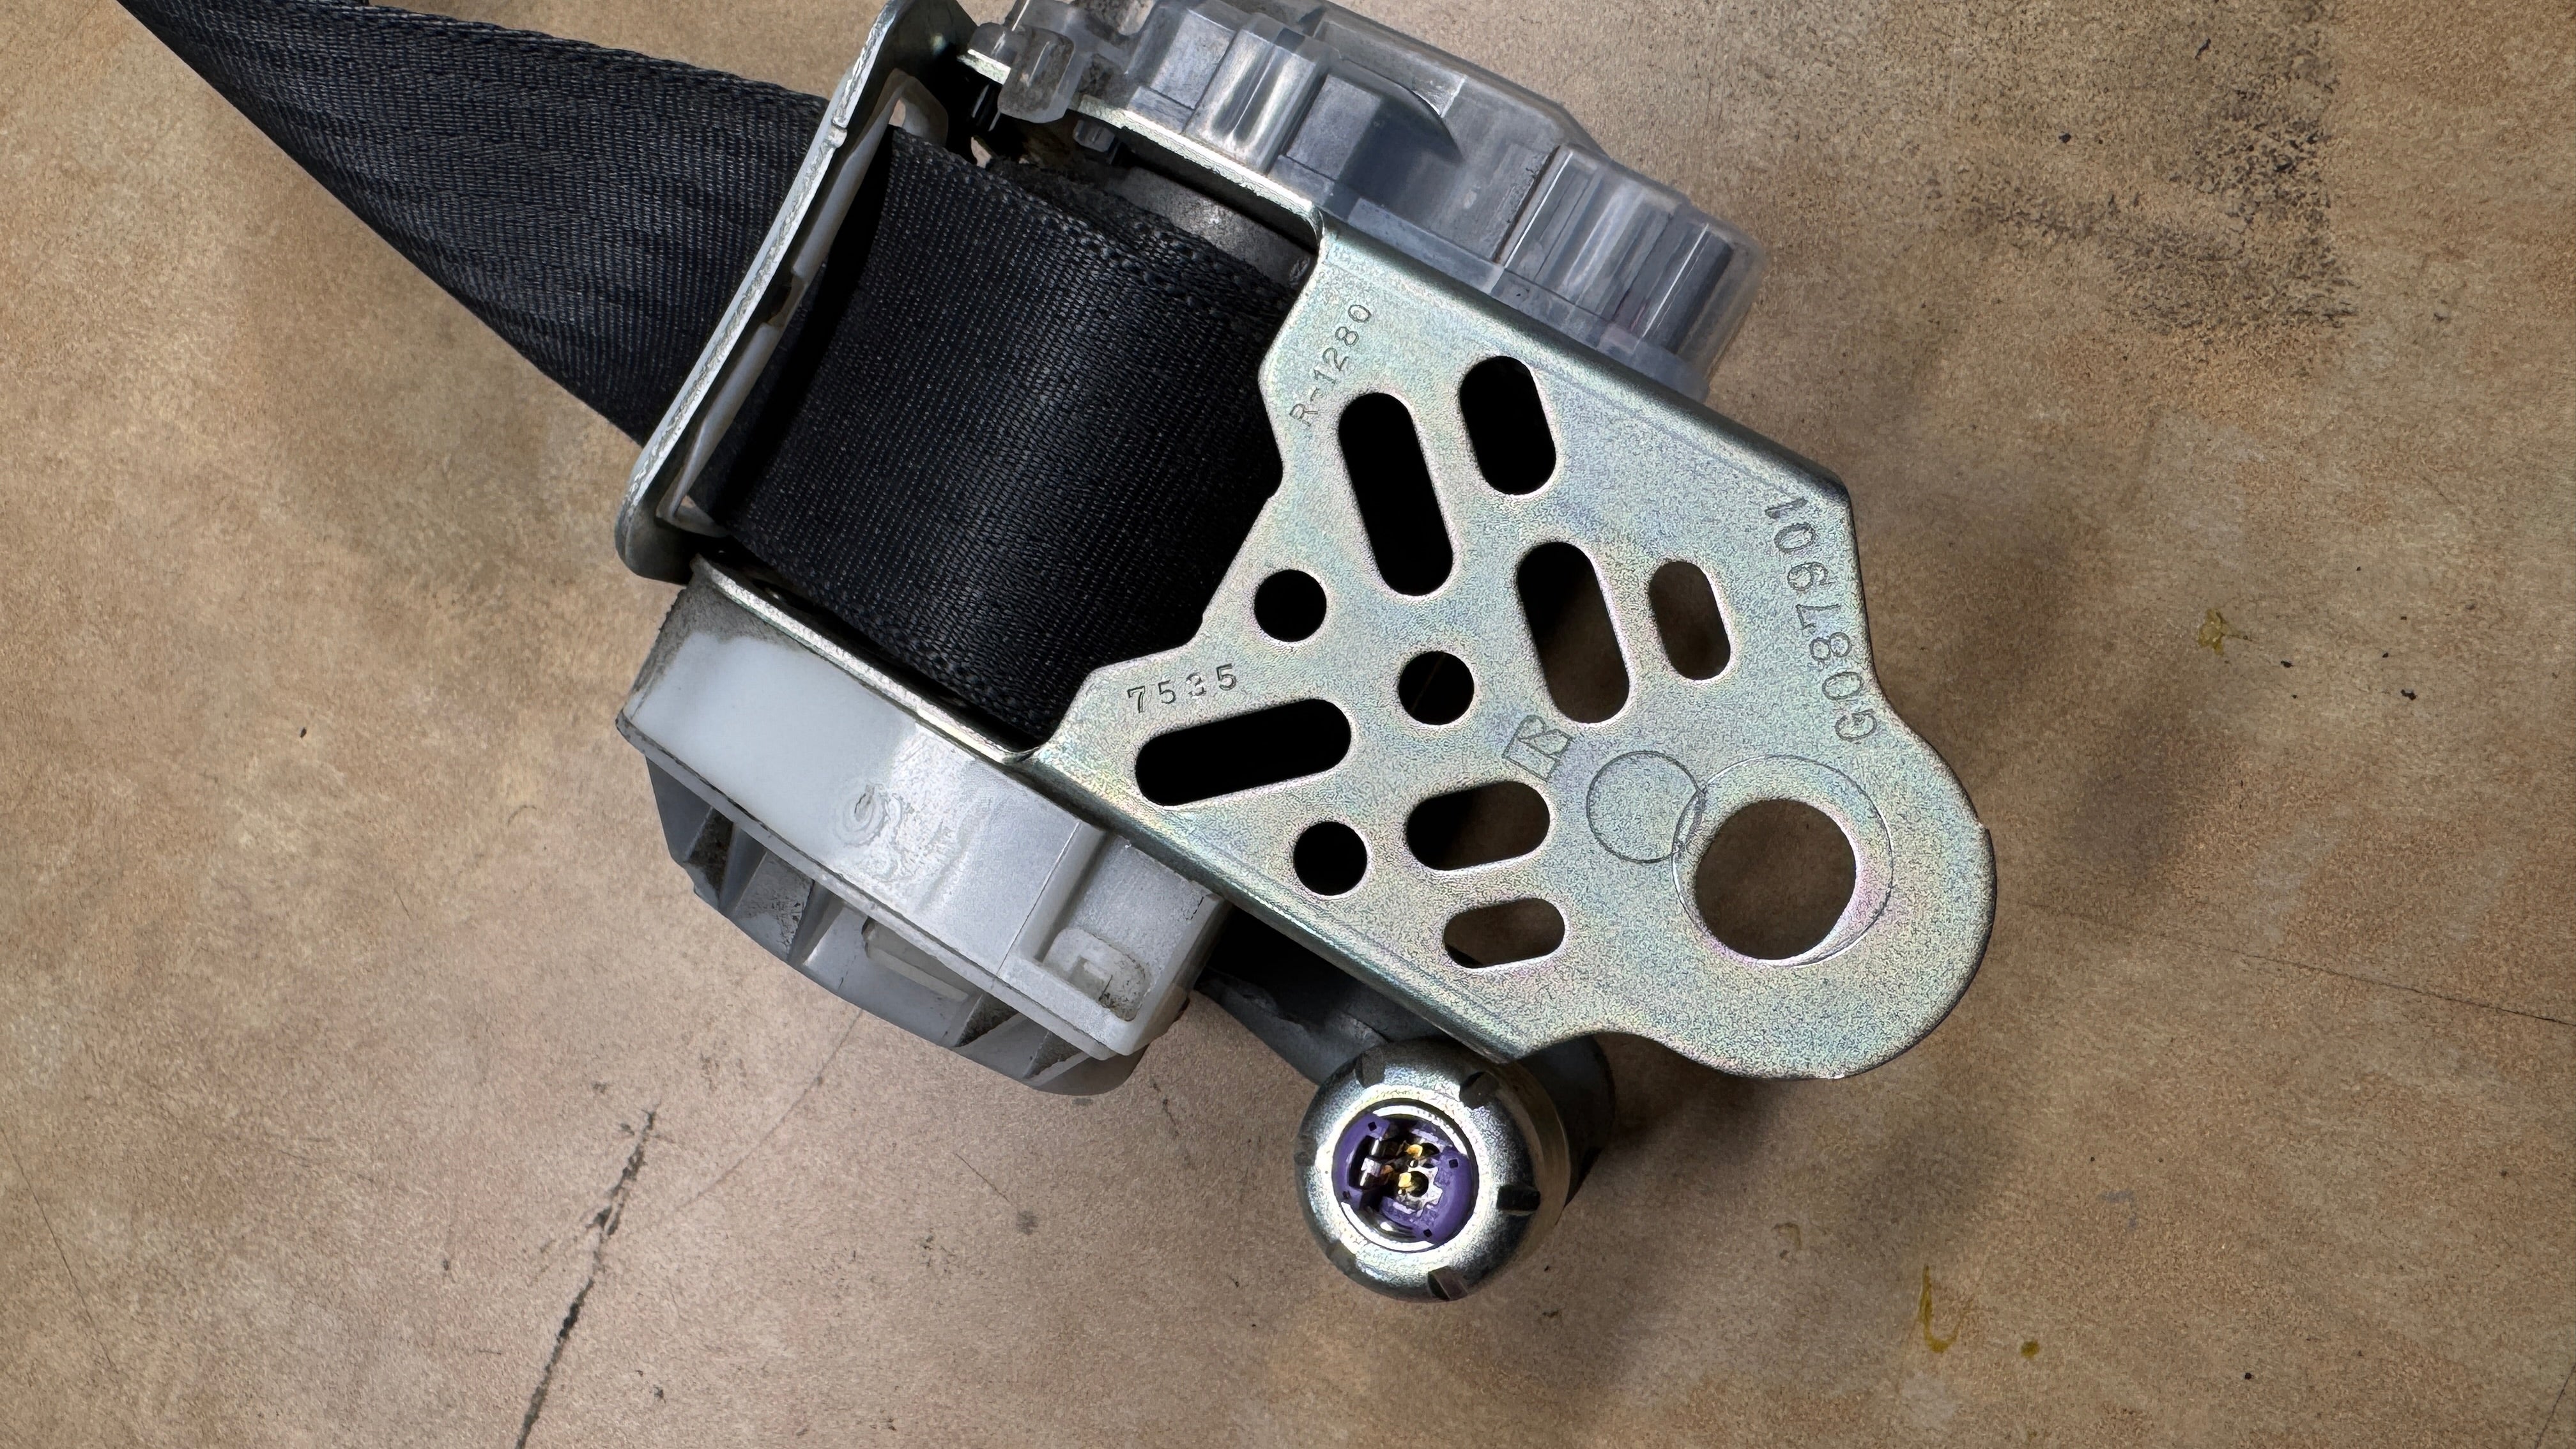
This one’s trickier because pre-tensioners are hidden inside the belt assembly. They’re small pyrotechnic devices that “fire” during a collision to pull the belt tight. Once deployed, they cannot be reset.
How to tell if yours activated:
- Airbag light is on
- Diagnostic scan shows seat belt fault codes
- Webbing feels shorter than usual
If your airbags went off, assume the pre-tensioners fired too.
Step 5: Don’t Forget the Rear Belts
Many drivers only check the front belts, but passengers in the back rely on their belts just as much. In fact, rear seat belts are often overlooked in post-collision repairs.
A quick inspection could reveal hidden issues, especially if rear passengers were present during the crash.
Repair vs. Replacement: What’s the Right Choice?
Not all seat belt damage requires a full replacement. In many cases, expert repair services (like L&D Solutions) can restore the seat belt to OEM standards at a fraction of the cost.
Here’s a quick comparison:
| Situation | Best Option |
|---|---|
| Frayed or cut webbing | Replace webbing |
| Locked retractor | Repair or replace |
| Activated pre-tensioner | Replace assembly |
| Minor buckle wear | Replace buckle only |
| Cosmetic dirt/stains | Clean only |
The key is having a professional diagnose the issue. DIY fixes are risky, seat belts aren’t just “straps,” they’re complex safety systems.
The Cost Factor
Replacing seat belts at a dealership can be expensive, sometimes $300 to $700 per belt. If multiple belts need replacement, the cost can skyrocket.
That’s why repair specialists are a game-changer. At L&D Solutions, for example, we rebuild and restore belts for a fraction of dealer pricing while meeting OEM safety specs.
When to Involve a Professional
Here’s the honest truth: you can spot obvious damage yourself, but you can’t confirm the internal health of a belt without the right tools.
Call in a professional if:
- Airbag light is on after collision
- Belts are locked or won’t retract
- You suspect pre-tensioners have deployed
- Any webbing is frayed, burned, or cut
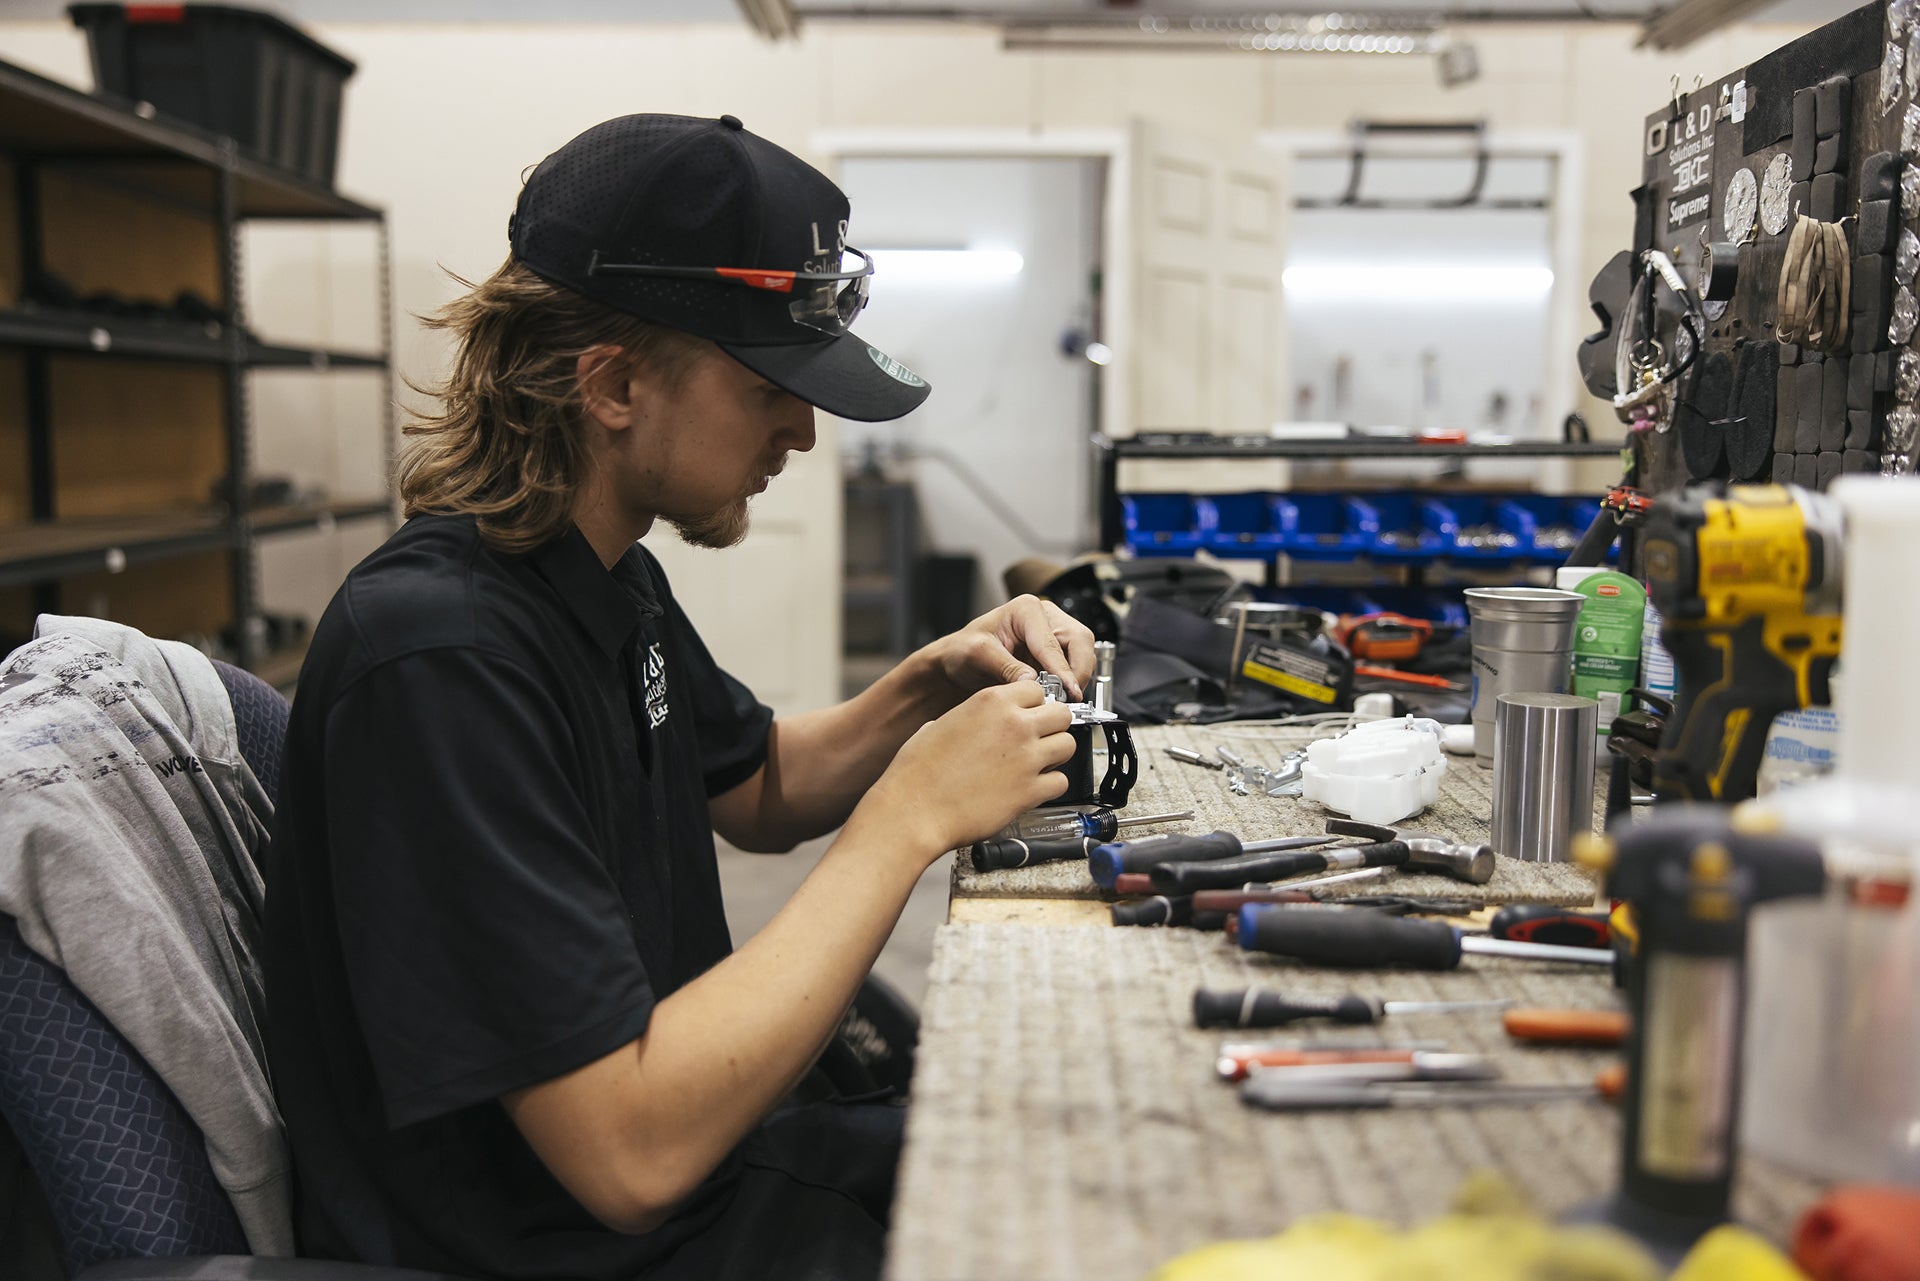
A qualified repair service will fully disassemble the unit, replace damaged components, and test it for proper function before returning it to you.
How L&D Solutions Handles Seat Belt Repairs
At L&D Solutions, our process is simple, fast, and focused on safety:
- Free Diagnosis – Send in your belt, and we inspect it at no charge.
- OEM-Grade Parts – We use only certified components that match original specs.
- Full Function Testing – Every belt is tested for locking, retraction, and durability.
- Quick Turnaround – Most repairs are completed in 24–48 hours.
This way, you’re back on the road quickly without cutting corners on safety.
Common Myths About Seat Belt Replacement
Let’s bust a few:
- “If it looks fine, it’s fine.” Not true. Internal damage can’t be seen.
- “I can reset it myself.” Without proper tools, you’re risking a belt that won’t work in an emergency.
- “Only airbags matter.” Airbags and seat belts are part of the same safety system, both need to function.
A Post-Collision Seat Belt Checklist
Here’s a quick list you can save:
- Inspect all belts, front and rear, for frays, cuts, or burns
- Test retractor locking and smooth operation
- Check buckles for secure latch and release
- Scan vehicle for seat belt fault codes
- Replace or repair any damaged belts immediately
- Choose OEM-grade repairs for safety and compliance
Don’t Compromise on Safety
After a collision, your vehicle’s appearance might be the first thing you want to fix. But here’s the reality, seat belts are your first defense in any crash.
Neglecting them can turn a survivable accident into a fatal one. Whether you choose to replace or repair, make sure it’s done by experts who understand the stakes.
At L&D Solutions, we’ve seen too many cases where a “good enough” seat belt failed when it mattered most. Don’t take that risk.
Need your seat belts checked after a collision?
Contact L&D Solutions today for professional inspection and OEM-standard repairs. Your safety, and your passengers’, is worth it.


Leave a comment
This site is protected by hCaptcha and the hCaptcha Privacy Policy and Terms of Service apply.